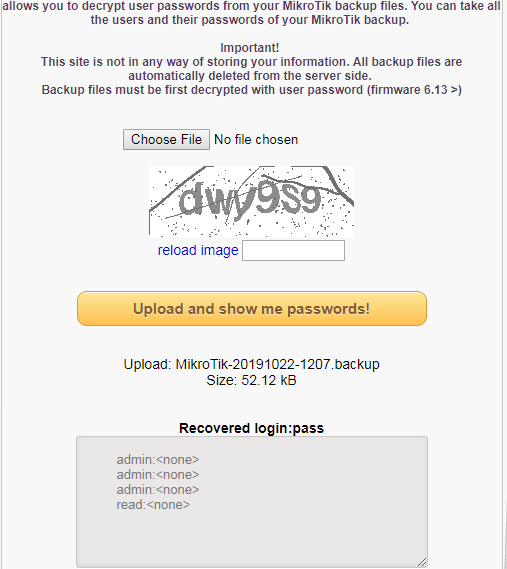
Ada keuntungan bagi kalian yang secara berkala melakukan backup
Mikrotik, jadi apabila terjadi kesalahan konfigurasi atau Mikrotik
kalian terkena hack atau lupa password login admin Winbox Mikrotik bisa
melakukan restore atau melakukan pencarian password admin Mikrotik.
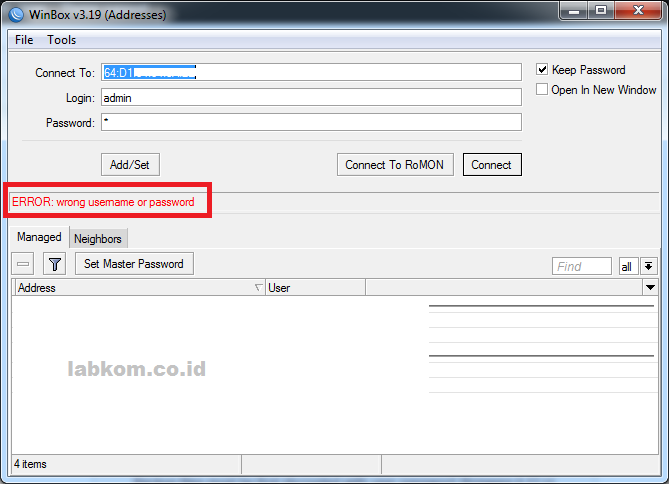
Untuk kesalahan username dan password biasanya akan muncul notif ERROR: wrong username or password apabila notifnya seperti ini sudah dipastikan username dan password yang kalian masukkan salah.
Pada postingan kali ini saya akan share script untuk mengecek siapa
saja yang sedang login atau yang sedang mengakses mikrotik melalui Bot
Telegram.
Jadi dengan menggunakan script ini kita bisa secara realtime
mengetahui siapa saja yang sedang mengakses Mikrotik apakah melalui
Winbox, Telnet, API maupun service yang lainnya.
Cara Melihat Pengguna Active di Mikrotik
Untuk mengecek siapa saja yang sedang mengakses Mikrotik, bisa dengan menggunakan cara System –> User –> Active
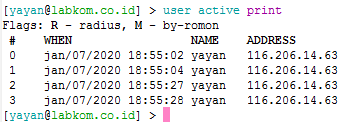
Atau dengan menggunakan New Terminal dengan perintah “user active
print” maka akan terlihat pengguna aktif yang sedang login ke Mikrotik
Monitoring User Yang Sedang Login ke Mikrotik dengan Bot Telegram
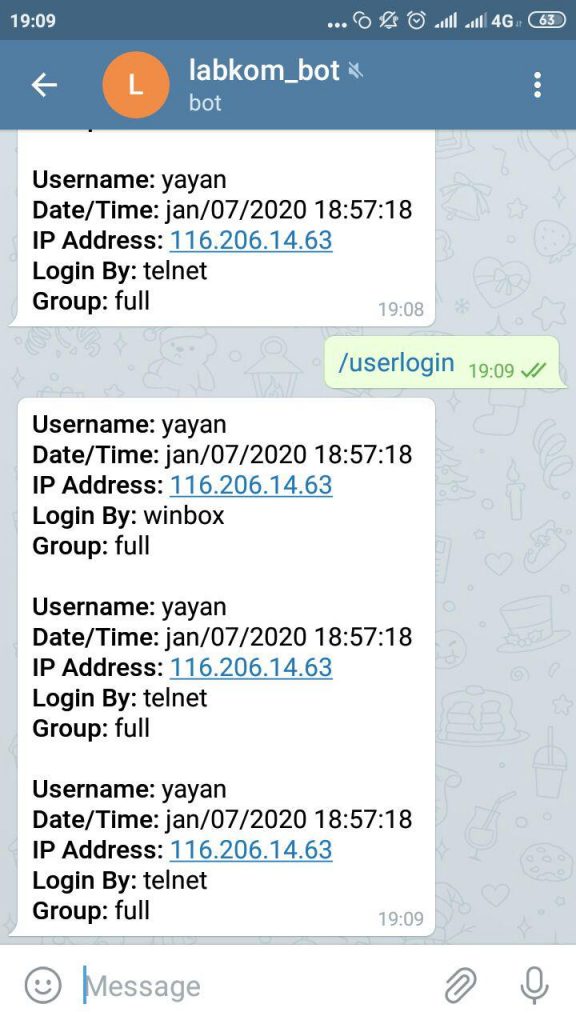
Agar script ini bisa berjalan sesuai dengan perintah, misalnya Bot ini akan mengenali perintah /userlogin maka script ini akan dijalankan dan mengirimkan pesan berupa informasi pengguna/user yang sedang mengakses Mikrotik.
Hasilnya akan terlihat siapa saja yang sedang mengakses Mikrotik,
dengan informasi sumber IP Address, jadi dengan cara ini kita bisa
memonitoring secara realtime pengguna yang sedang login ke Mikrotik.
Semoga bermanfaat
ERROR: Your Cacti database login account does not have access to the MySQL TimeZone database. Please provide the Cacti database account "select" access to the "time_zone_name" table in the "mysql" database, and populate MySQL's TimeZone information before proceeding
====== Solusi ======
# mysql -u root -p mysql
Enter password: Reading table information for completion of table and column names You can turn off this feature to get a quicker startup with -A Welcome to the MySQL monitor. Commands end with ; or \g. Your MySQL connection id is 670 Server version: 5.1.73 Source distribution Copyright (c) 2000, 2013, Oracle and/or its affiliates. All rights reserved. Oracle is a registered trademark of Oracle Corporation and/or its affiliates. Other names may be trademarks of their respective owners. Type 'help;' or '\h' for help. Type '\c' to clear the current input statement.
mysql> GRANT SELECT ON mysql.time_zone_name TO cacti@localhost; Query OK, 0 rows affected (0.00 sec) mysql> flush privileges; Query OK, 0 rows affected (0.00 sec) mysql> exit Bye
If this is NOT your first time setting up the password, try this method: mysql>UPDATE mysql.userSET Password=PASSWORD('your_new_password')WHEREUser='root';
Cacti tool is an open-source web-based network monitoring and system monitoring graphing solution for IT business. Cacti enable a user to poll services at regular intervals to create graphs on resulting data using RRDtool. Generally, it is used to graph time-series data of metrics such as network bandwidth utilization, CPU load, running processes, disk space, etc.
In this how-to, we are going to show you how to install and set up a complete network monitoring application called Cacti using Net-SNMP tool on RHEL, CentOS and Fedora systems using YUM and DNF package manager tool.
Cacti Required Packages
The Cacti required the following packages to be installed on your Linux operating systems like RHEL / CentOS / Fedora.
Apache : A Web server to display network graphs created by PHP and RRDTool.
MySQL : A Database server to store cacti information.
PHP : A script module to create graphs using RRDTool.
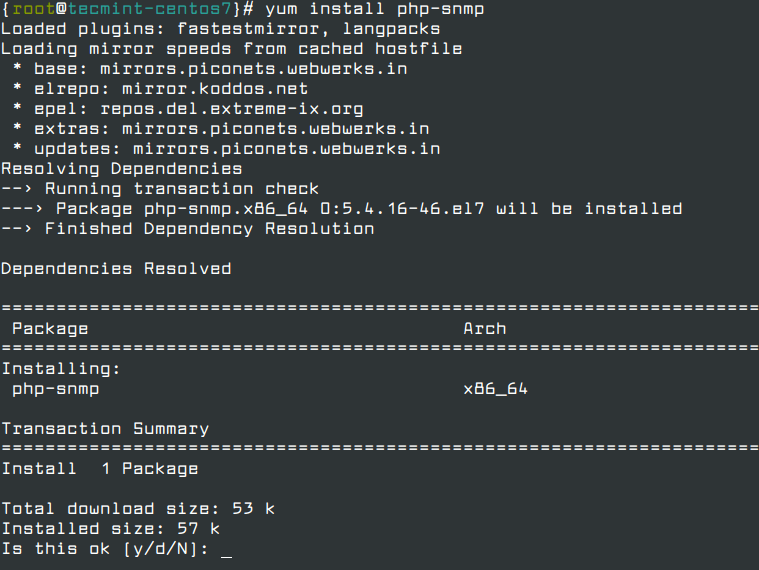
PHP-SNMP : A PHP extension for SNMP to access data.
NET-SNMP : A SNMP (Simple Network Management Protocol) is used to manage the network.
RRDTool : A database tool to manage and retrieve time series data like CPU load, Network Bandwidth, etc.
Note: The installation instructions were shown here are written based on CentOS 7.5 Linux distribution.
Installing Cacti Required Packages on RHEL / CentOS / Fedora
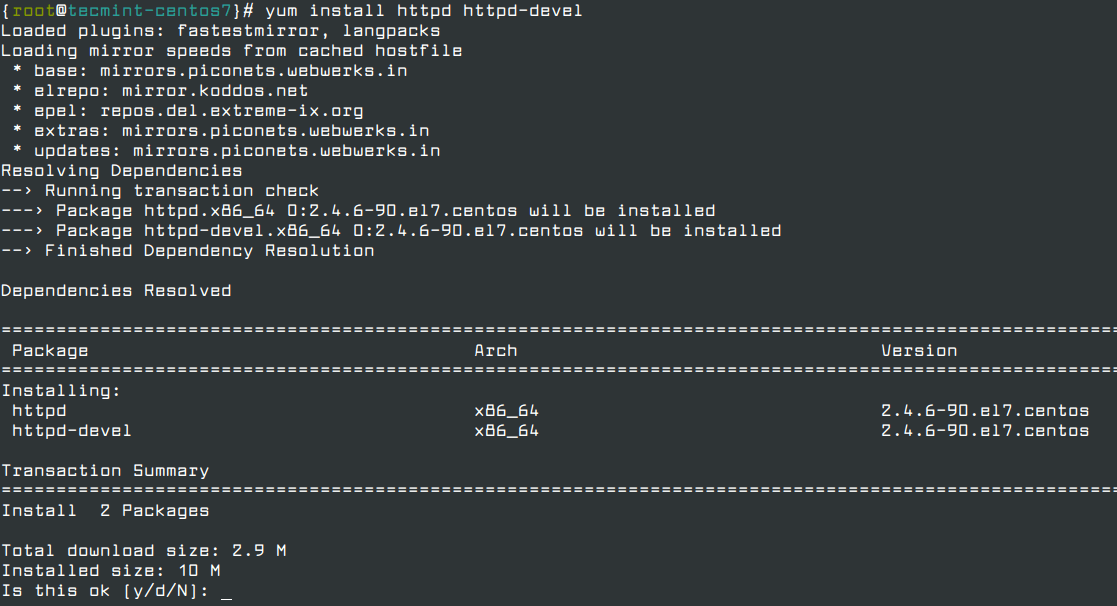
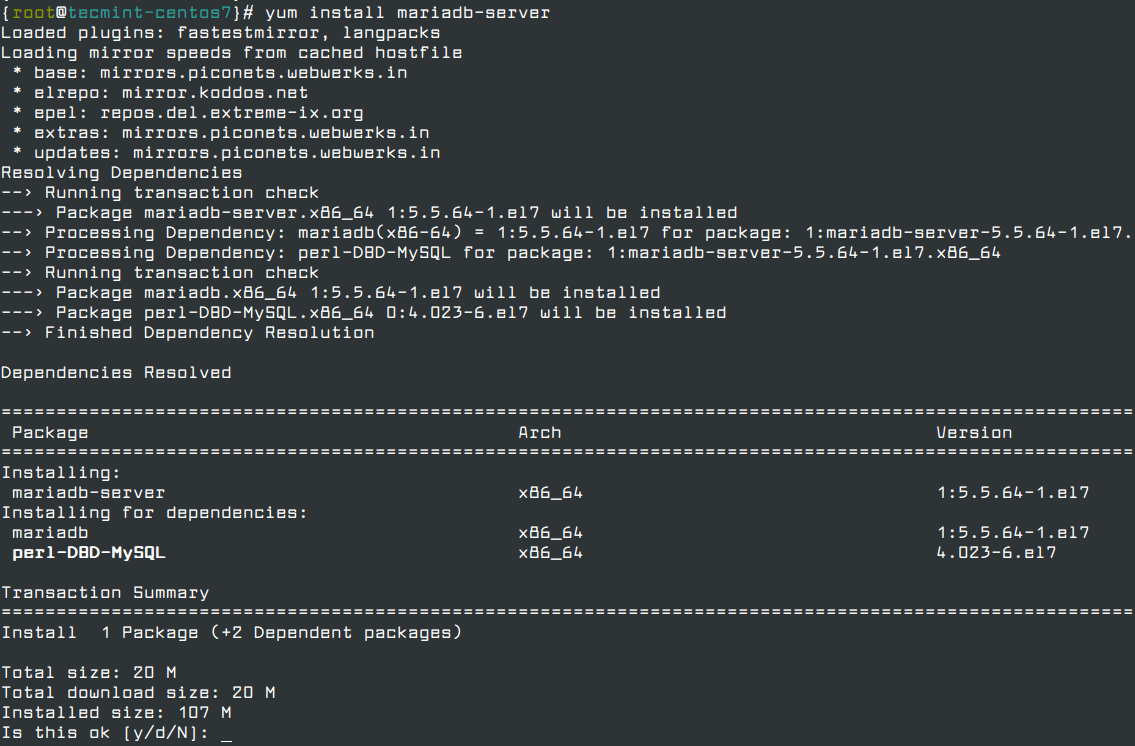
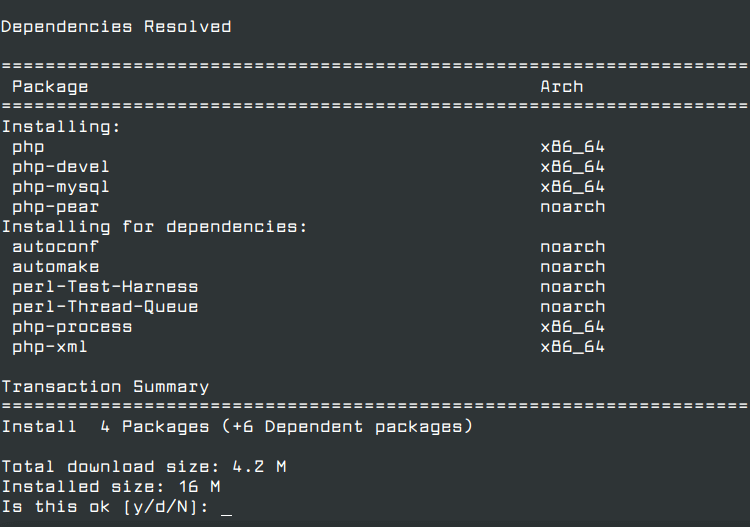
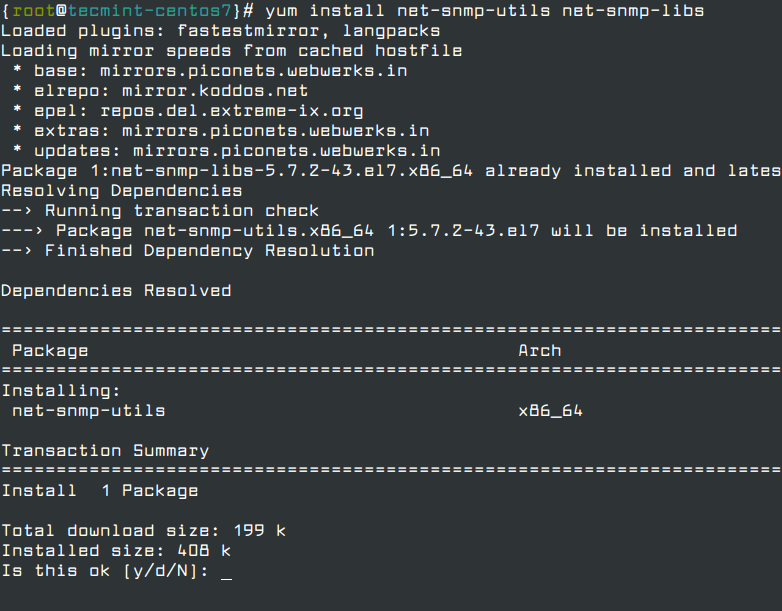
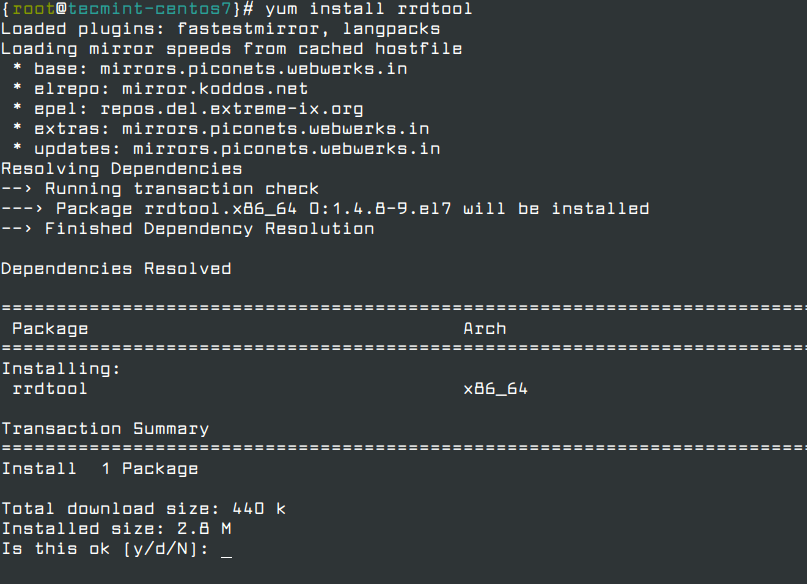
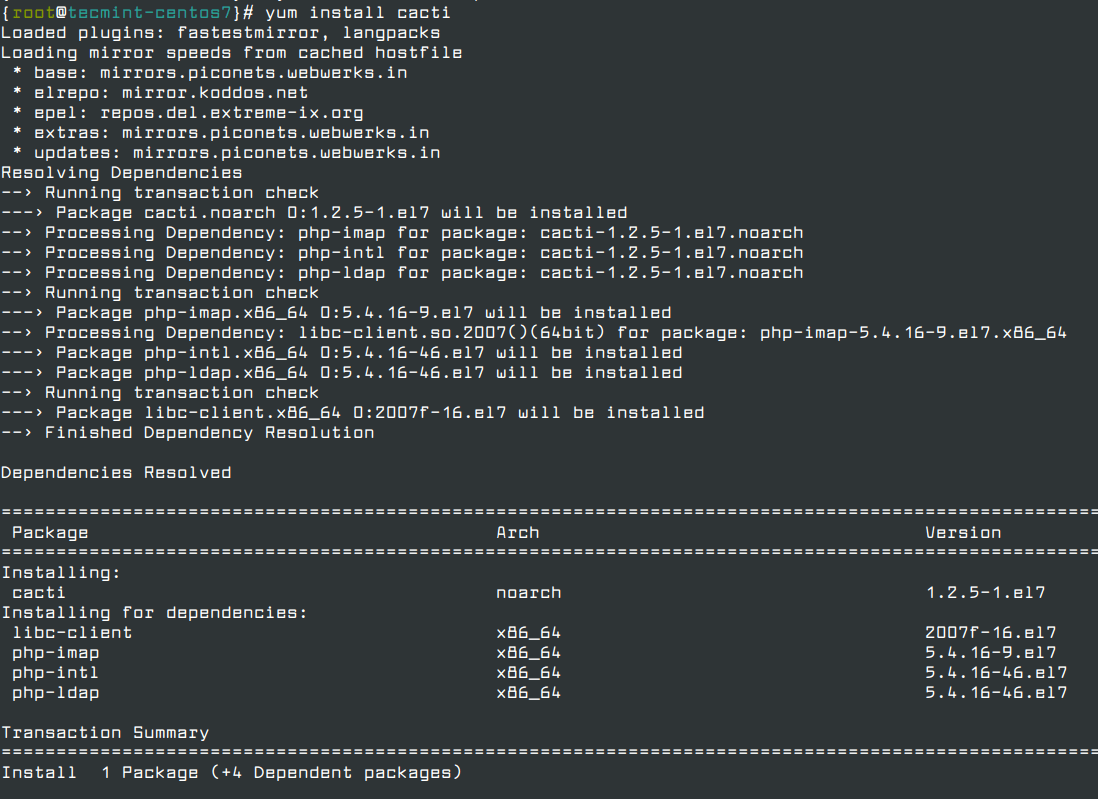
First, we need to install following dependency packages one-by-one using the default package manager tool as shown.
# yum install mysql mysql-server [On RHEL/CentOS 6]
MariaDB
is a community-developed fork of the MySQL database project and
provides a replacement for MySQL. Previously the official supported
database was MySQL under RHEL/CentOS and Fedora.
Recently, RedHat makes a new transaction from MySQL to MariaDB, as MariaDB is the default implementation of MySQL in RHEL/CentOS 8/7 and Fedora 19 onwards.
We need to configure MySQL for Cacti, to do this we need to secure a newly installed MySQL server and then we will create Cacti database with user Cacti. If you’re MySQL is already installed and secured, then don’t need to do it again.
# mysql_secure_installation
Create MySQL Cacti Database
Login into MySQL server with a newly created password and create Cacti database with user Cacti and set the password for it.
On RHEL/CentOS 6 and Fedora 18-12
[root@tecmint ~]# mysql -u root -p
Enter password:
Welcome to the MySQL monitor.  Commands end with ; or \g.
Your MySQL connection id is 3
Server version: 5.1.73 Source distribution
Copyright (c) 2000, 2013, Oracle and/or its affiliates. All rights reserved.
Oracle is a registered trademark of Oracle Corporation and/or its
affiliates. Other names may be trademarks of their respective
owners.

Type 'help;' or '\h' for help. Type '\c' to clear the current input statement.

mysql> create database cacti;
Query OK, 1 row affected (0.00 sec)

mysql> GRANT ALL ON cacti.* TO cacti@localhost IDENTIFIED BY 'tecmint';
Query OK, 0 rows affected (0.00 sec)

mysql> FLUSH privileges;
Query OK, 0 rows affected (0.00 sec)

mysql> quit;
Bye
On RHEL/CentOS 8/7 and Fedora 19 Onwards
[root@tecmint ~]# mysql -u root -p
Enter password:
Welcome to the MariaDB monitor.  Commands end with ; or \g.
Your MariaDB connection id is 3
Server version: 5.5.41-MariaDB MariaDB Server
Copyright (c) 2000, 2014, Oracle, MariaDB Corporation Ab and others.
Type 'help;' or '\h' for help. Type '\c' to clear the current input statement.

MariaDB [(none)]> create database cacti;
Query OK, 1 row affected (0.00 sec)

MariaDB [(none)]> GRANT ALL ON cacti.* TO cacti@localhost IDENTIFIED BY 'tecmint';
Query OK, 0 rows affected (0.00 sec)

MariaDB [(none)]> FLUSH privileges;
Query OK, 0 rows affected (0.00 sec)

MariaDB [(none)]> quit;
Bye
Install Cacti Tables to MySQL
Find out the database file path using RPM command, to install cacti tables into newly created Cacti database, use the following command.
# rpm -ql cacti | grep cacti.sql
Sample Output:
/usr/share/doc/cacti-1.2.6/cacti.sql
OR
/usr/share/doc/cacti/cacti.sql
Now we’ve of the location of Cacti.sql file, type the following command to install tables, here you need to type the Cacti user password.
[root@tecmint ~]# mysql -u cacti -p cacti < /usr/share/doc/cacti-0.8.8b/cacti.sql
Enter password:
Configure MySQL settings for Cacti
Open the file called /etc/cacti/db.php with any editor.
# vi /etc/cacti/db.php
Make the following changes and save the file. Make sure you set password correctly.
/* make sure these values reflect your actual database/host/user/password */
$database_type = "mysql";
$database_default = "cacti";
$database_hostname = "localhost";
$database_username = "cacti";
$database_password = "your-password-here";
$database_port = "3306";
$database_ssl = false;
Configuring Firewall for Cacti
On RHEL/CentOS 6 and Fedora 18-12
[root@tecmint ~]# iptables -A INPUT -p udp -m state --state NEW --dport 80 -j ACCEPT
[root@tecmint ~]# iptables -A INPUT -p tcp -m state --state NEW --dport 80 -j ACCEPT
[root@tecmint ~]# service iptables save
Open file called /etc/httpd/conf.d/cacti.conf with your choice of editor.
# vi /etc/httpd/conf.d/cacti.conf
You need to enable access to Cacti application for your local network or per IP level. For example, we’ve enabled access to our local LAN network 172.16.16.0/20. In your case, it would be different.
Alias /cacti    /usr/share/cacti

<Directory /usr/share/cacti/>
        Order Deny,Allow
        Deny from all
        Allow from 172.16.16.0/20
</Directory>
In the latest version of Apache (ex: Apache 2.4), you may need to change according to the following settings.
Alias /cacti    /usr/share/cacti

<Directory /usr/share/cacti/>
        <IfModule mod_authz_core.c>
                # httpd 2.4
                Require all granted
        </IfModule>
        <IfModule !mod_authz_core.c>
                # httpd 2.2
                Order deny,allow
                Deny from all
                Allow from all
        </IfModule>
</Directory>
Finally, restart the Apache service.
[root@tecmint ~]# service httpd restart    [On RHEL/CentOS 6 and Fedora 18-12]
[root@tecmint ~]# systemctl restart httpd.service  [On RHEL/CentOS 8/7 and Fedora 19 onwards]
Setting Cron for Cacti
Open file /etc/cron.d/cacti.
# vi /etc/cron.d/cacti
Uncomment the following line. The poller.php script runs every 5mins and collects data of known host which is used by Cacti application to display graphs.
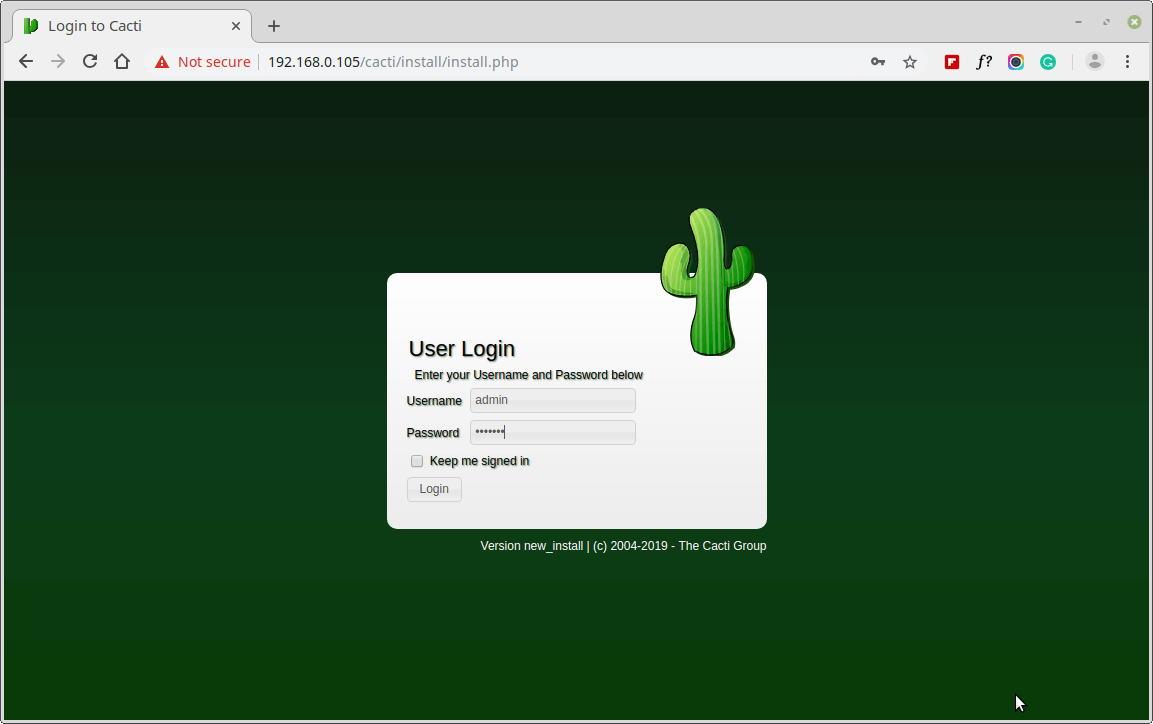
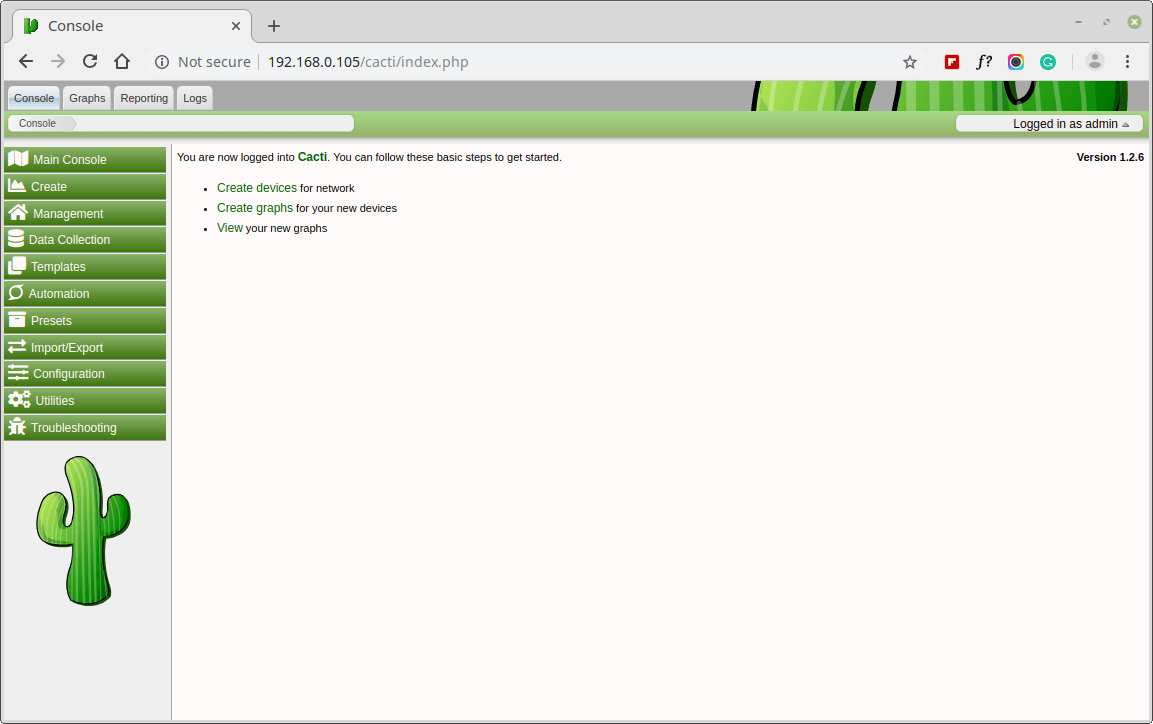
Finally, Cacti is ready, just go to http://YOUR-IP-HERE/cacti/ & follow the installer instruction through the following screens. Enter the default login details and hit Enter button.
User: admin
Password: admin
Cacti User Login
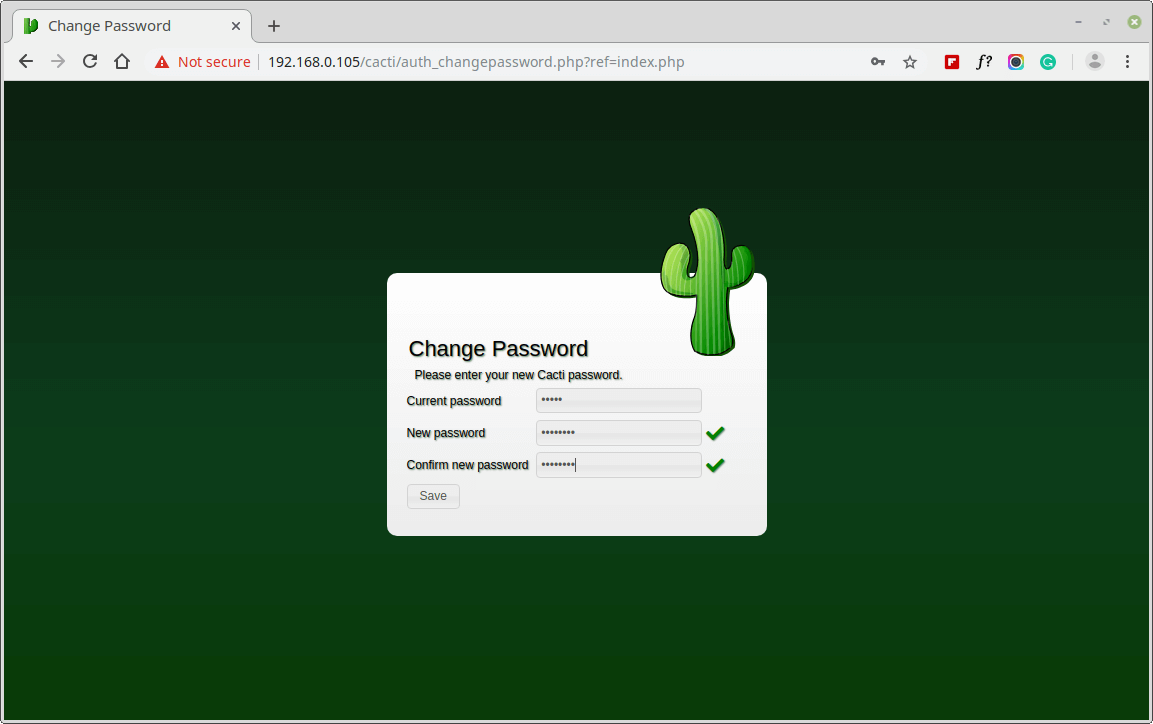
Next, change default Cacti password.
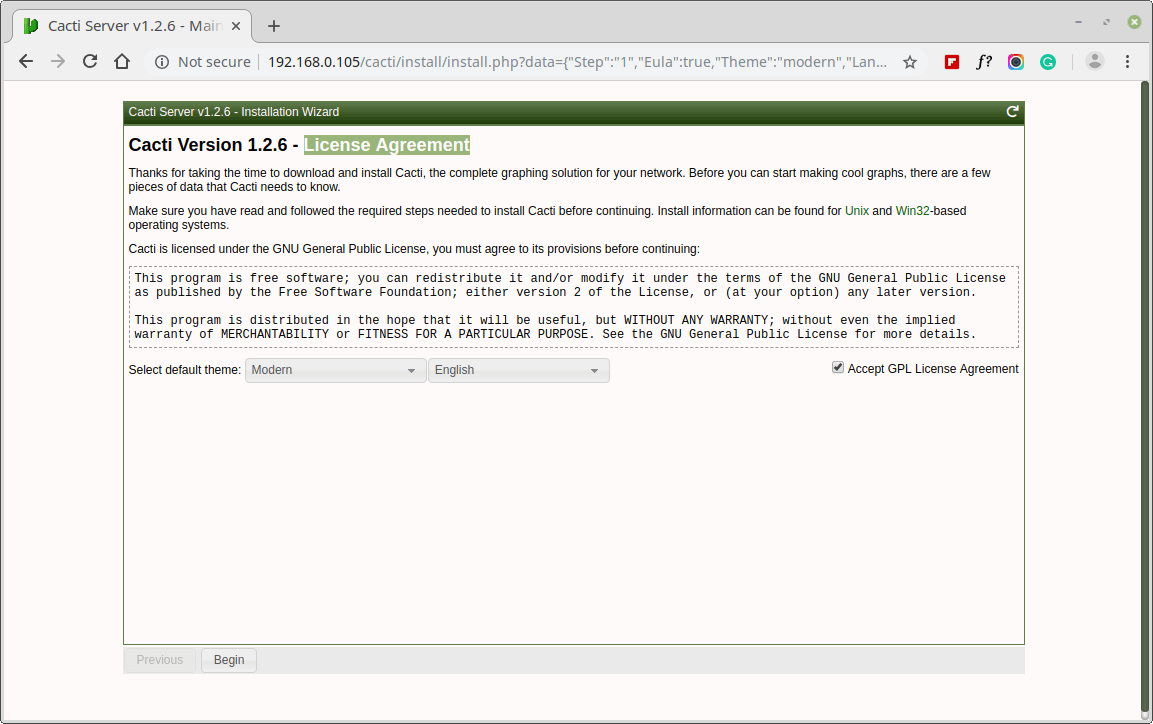
Accept Cacti License Agreement
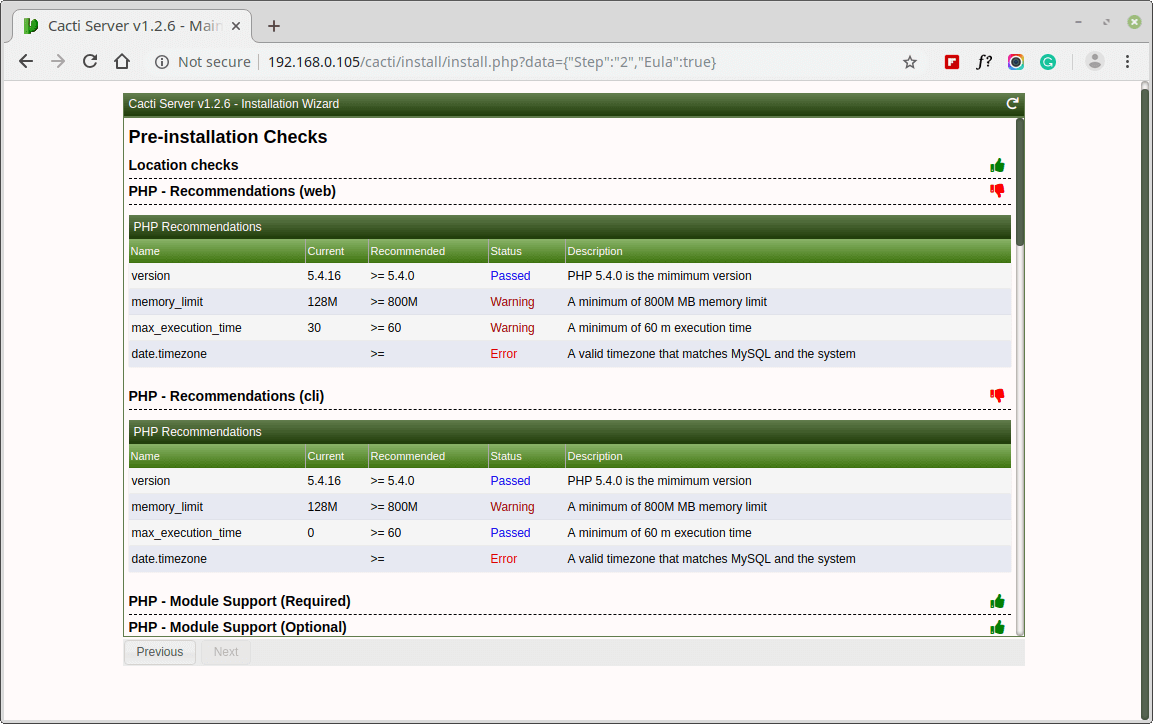
Next, the screen shows Pre-installation Checks for Cacti installation, please correct the suggested settings in your /etc/php.ini file as shown and restart Apache after making changes.
Cacti Pre-installation Checks
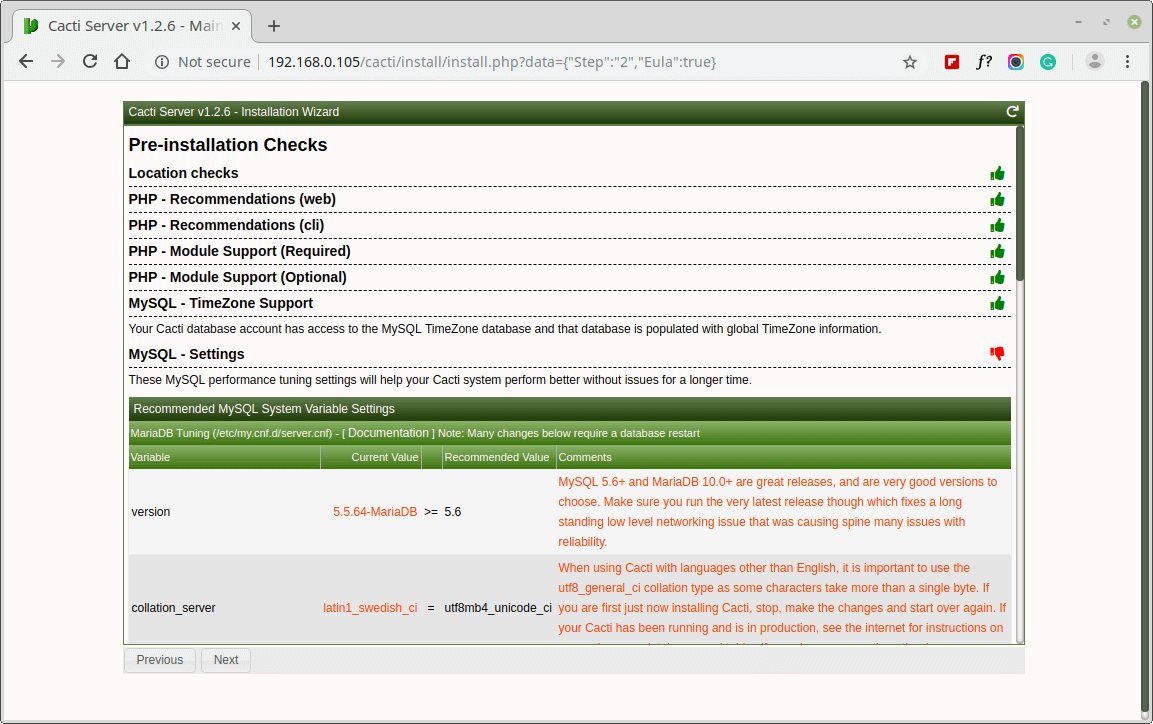
Similarly, you also need to grant access to the MySQL TimeZone
database for user Cacti, so that the database is populated with global
TimeZone information.
mysql> use mysql;
mysql> GRANT SELECT ON mysql.time_zone_name TO cacti@localhost;
mysql> flush privileges;
Cacti MySQL Pre-Installation Checks
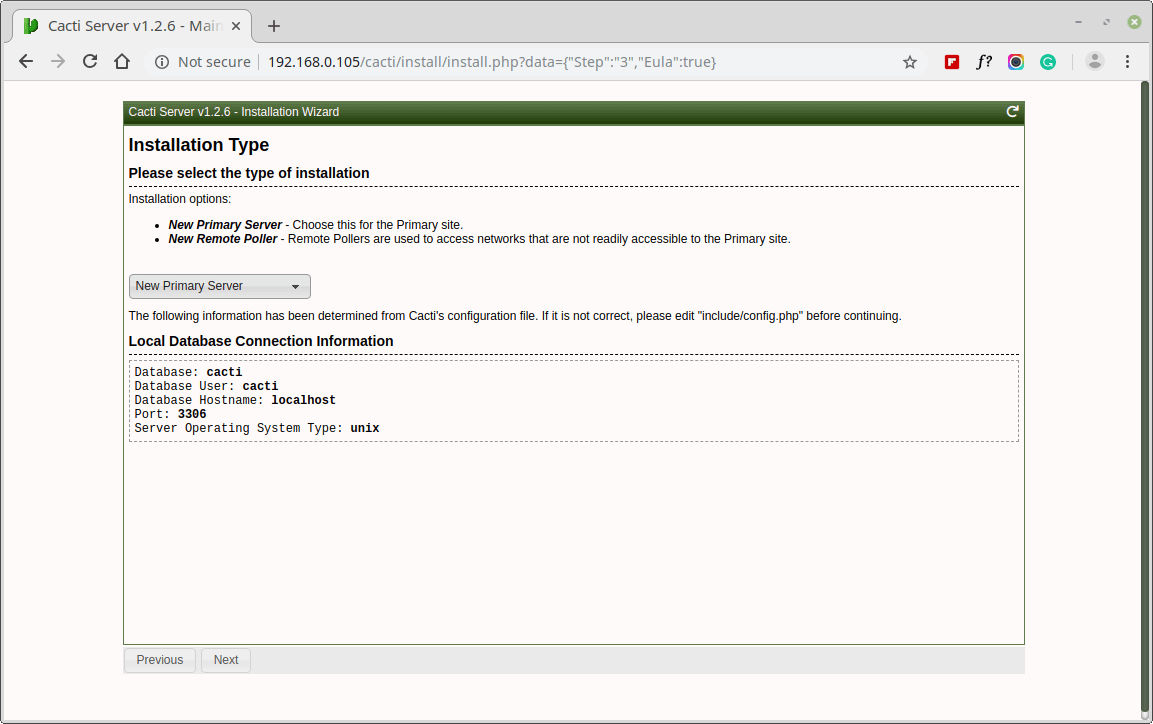
Please choose the installation Type as “New Install“.
Select Cacti Installation Type
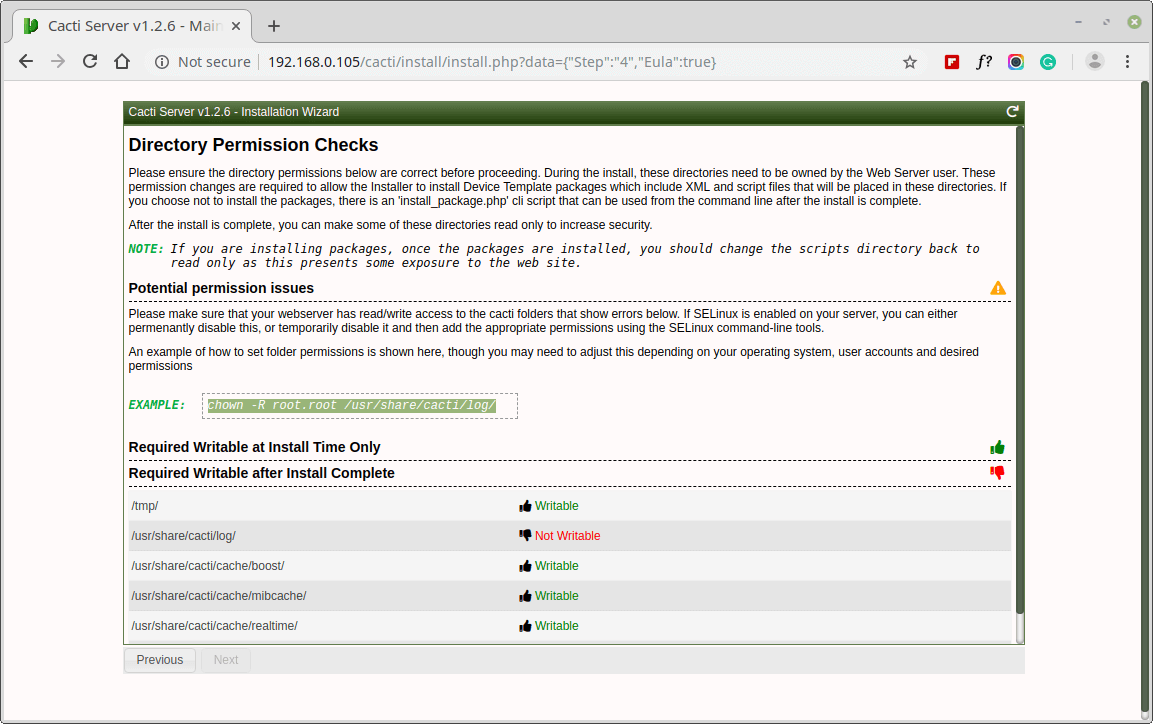
Make sure all the following directory permissions are correct before continuing.
Cacti Directory Permission Checks
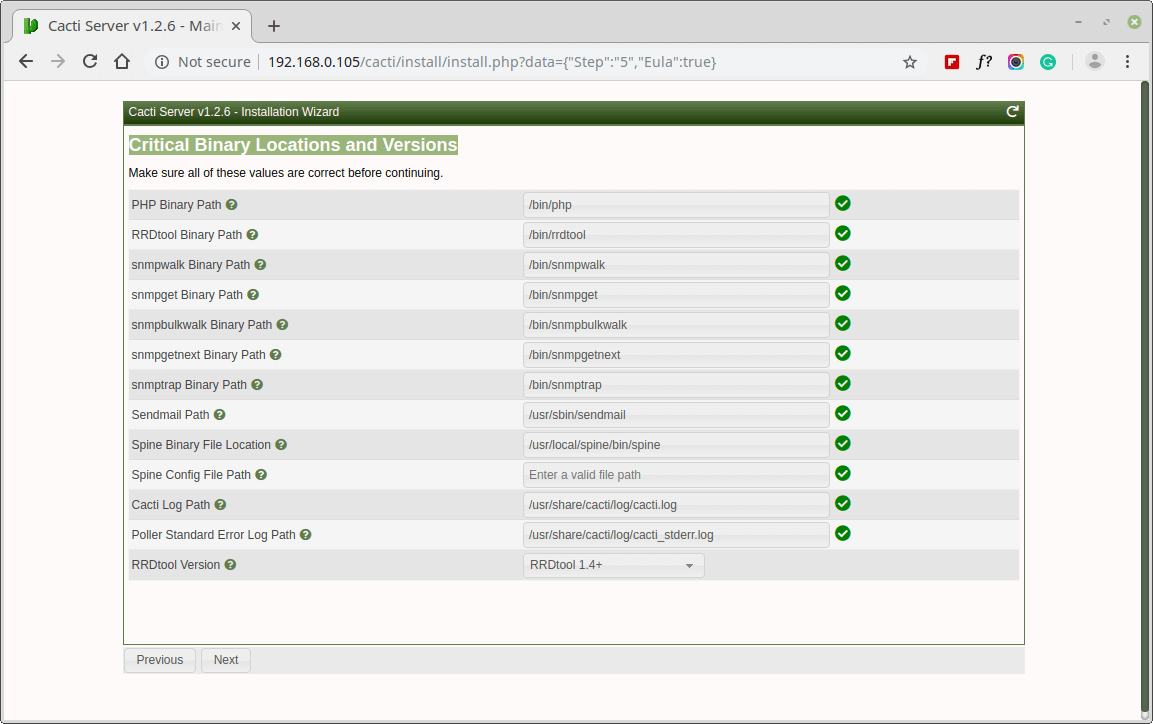
Make sure all of these Critical Binary Locations and Versions values are correct before continuing.
Critical Binary Locations and Versions
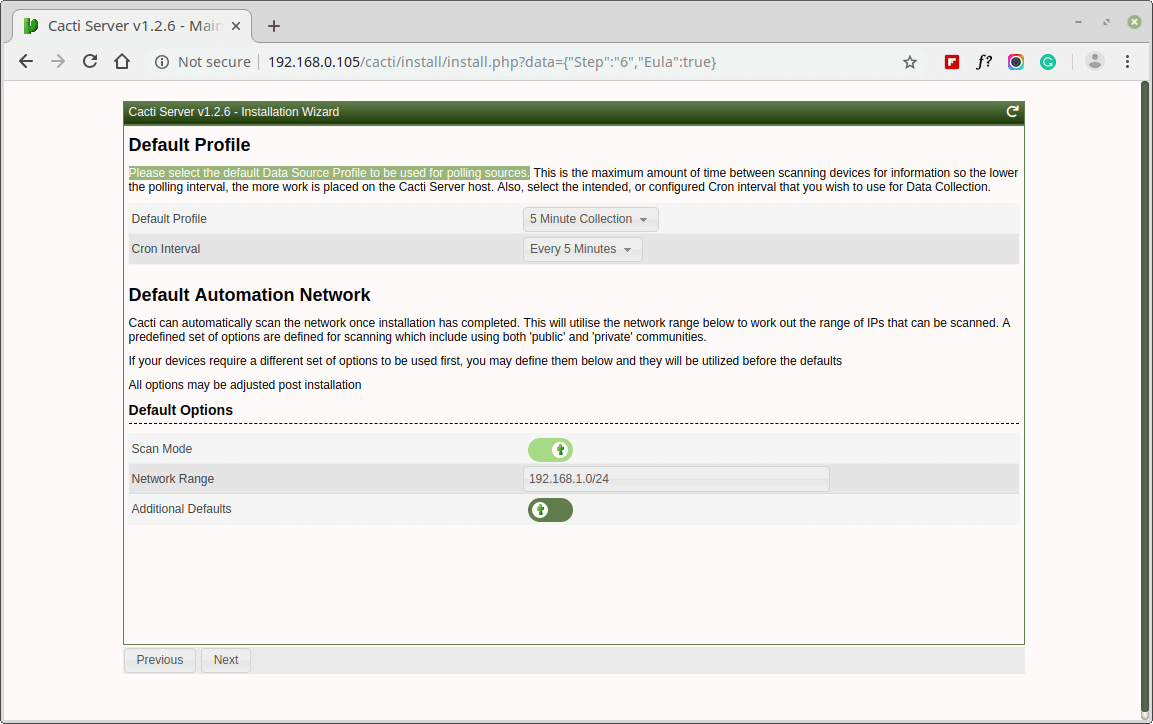
Please choose the default Data Source Profile to be used for polling sources.
Select Data Source Profile
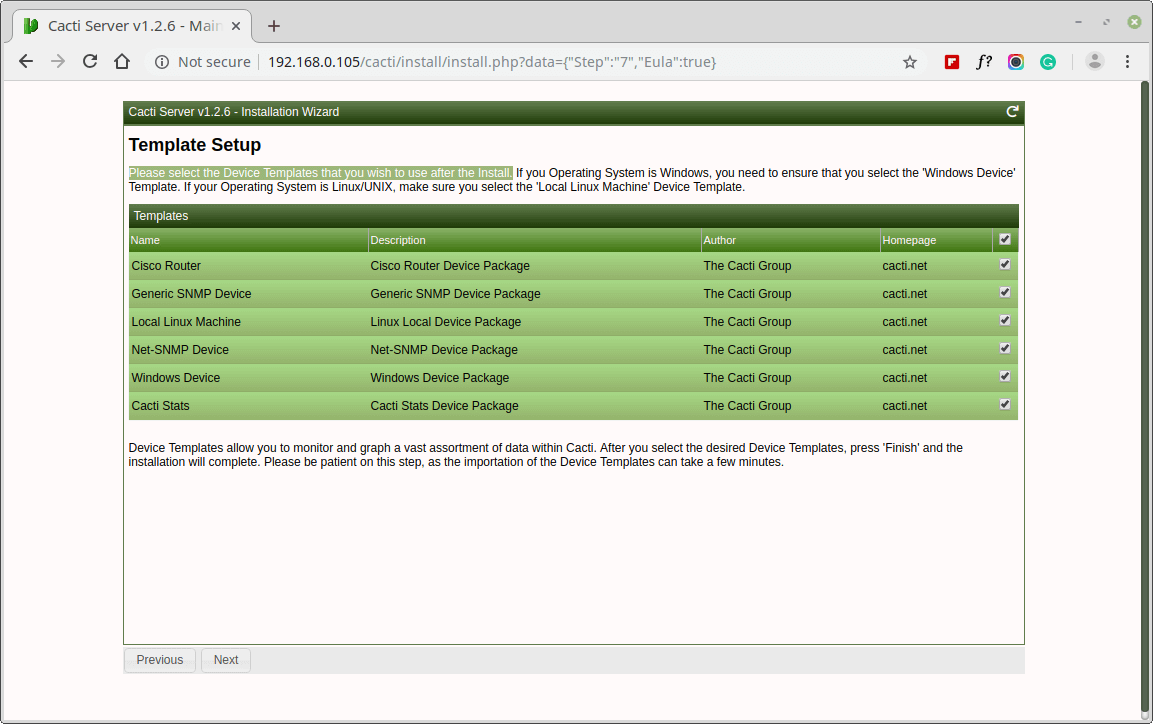
Please, choose the Device Templates that you wish to use after the Cacti Install.
Select Cacti Device Templates
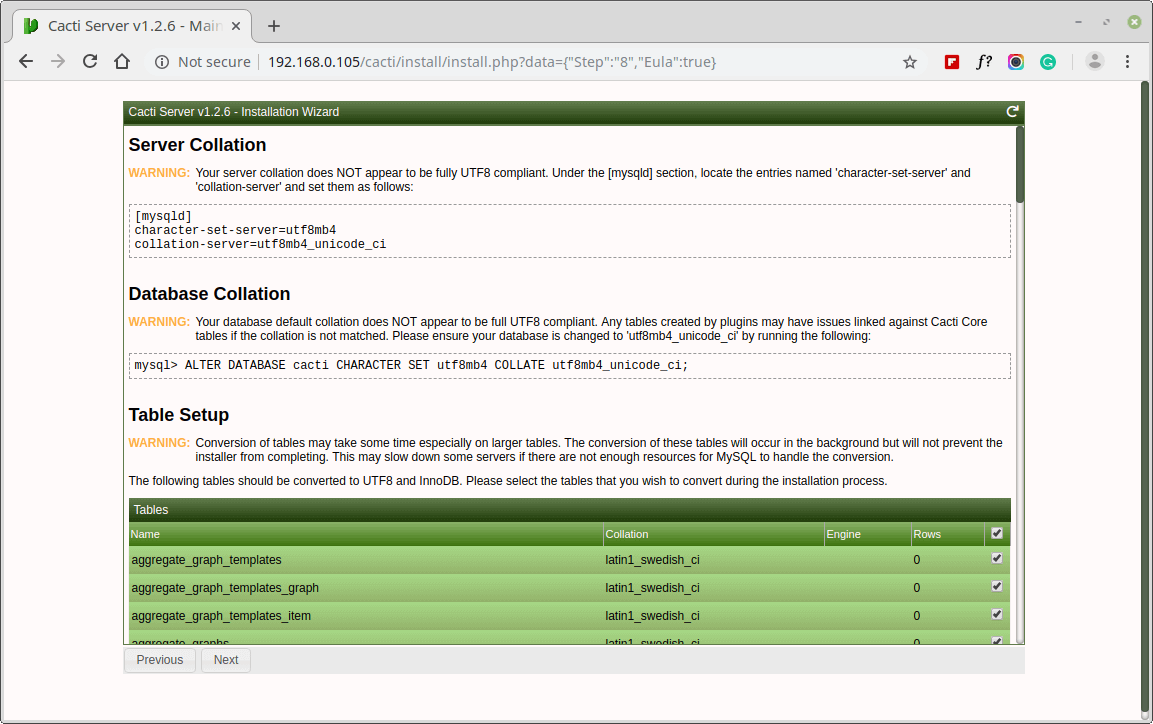
Set the Server Collation in your MySQL configuration file /etc/my.cnf under the [mysqld] section as shown.